Artec Point

Metrology-grade handheld laser 3D scanner

Metrology-grade handheld laser 3D scanner

1-year warranty

0.02 mm

accuracy

0.02 mm

resolution

120 FPS

scanning speed

Laser scanner for metrology capture in the palm of your hand

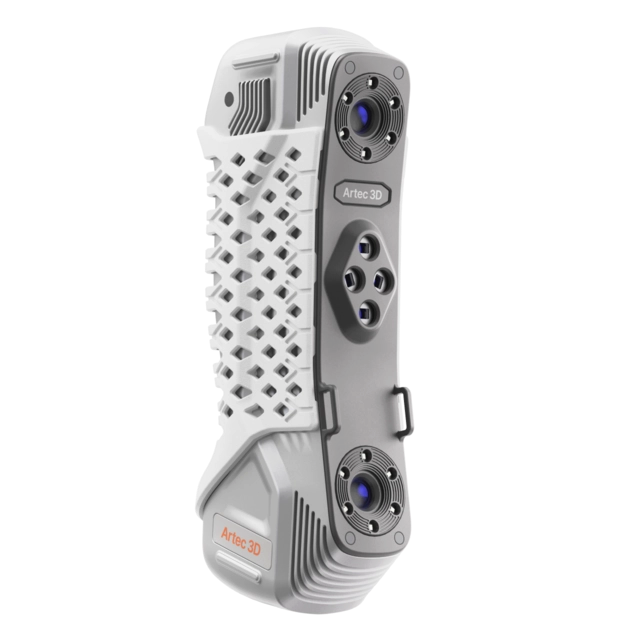
Artec’s first target-based 3D laser scanner introduces ISO-certified, metrology-grade 3D scanning to your workflow. Artec Point rapidly captures complex surfaces – even those featuring black or shiny exteriors – with up to 0.02 mm accuracy for quality control and reverse engineering.

Alternate between grid, parallel, and single-laser modes to maximize results and use HD cameras fixed at a steep viewing angle to capture in narrow areas. With a light yet robust metal chassis, the Artec Point is also versatile for use in demanding industrial environments.

When it comes to capturing intricate objects with high repeatability and pinpoint accuracy, Artec Point always delivers, making it the ideal solution, wherever you need fast, reliable data.

Technical specification

Stunningly accurate models – every time

With super high accuracy, solid tracking, and dedicated modes for complex geometries, the Artec Point 3D scanner captures highly repeatable metrology data you can count on.

Metrology-Grade-icon

Metrology-grade accuracy

Artec Point captures complex surfaces with incredible accuracy and repeatability, consistently delivering high-quality data for industrial metrology.

easy-to-use-icon

Incredibly easy to use

Most of Artec Point’s main functions can be carried out with four easy-to-access buttons that users are able to configure for optimal workflow efficiency.

Steadfast-tracking-icon

Steadfast tracking

Capture objects at a rate of up to 120 FPS for tracking that stays fully locked onto objects, ensures there are no holes in your data, and makes Artec Point a breeze to use.

Switch-mode-icon

Switch mode for tricky surfaces

Change between three modes for best results – a high-speed grid, parallel lasers for complex geometry capture, and a single laser for obscure geometries like deep holes.

Magnify-icon

Magnify for a closer look

Zoom in to view surfaces up to 8x more closely for complete scan coverage that picks up tiny details that may not be visible upon first glance.

Wide-icon

Wide field of view

The Artec Point 3D laser scanner features a vast scanning area that allows it to capture larger objects while keeping targets in view for seamless, high-speed 3D scanning.

Perfect for metrology 3D scanning

Perfect for metrology 3D scanning
metrology-certified-icon

A metrology-certified 3D laser scanner

Artec Point’s high accuracy and repeatability are ISO & VDI/VDE-certified, so you can use it for advanced metrology, confident that you’ll get immediate, reliable results.

Achieve-high-repeatability-icon

Achieve high repeatability

With an intuitive interface and unshakable tracking, Artec Point ensures that you get repeatable results regardless of operator skill, without having to fine-tune any settings.

Capture-icon

Capture in confined areas

With a featherweight frame and ergonomic design, Artec Point can easily be used one-handed, and tilted to scan under, behind, or into seemingly unreachable areas.

Robust-icon

Robust build quality

Housed in a metal, grip-friendly casing, the Artec Point 3D scanner is ideal for industrial metrology applications where durability is essential.

Metrology-grade handheld laser 3D scanner

Meet Artec Point

Find out how the Artec Point 3D laser scanner can benefit your particular industry or application with a live demo, in person or online.

Adapt to different surfaces in a single click

Artec Point’s three modes allow you to switch between scanning large objects at pace, capturing intricate details, and digitizing deep holes, at the click of a button.

Accelerate your workflow using a 17 x 17 crossed-laser grid that accurately captures large objects at pace, and keep poly-count to a minimum for lightweight 3D models.

Deploy 7 parallel lasers to digitize complex surfaces in high resolution, detect more intricate details like engraved features, and get the data needed for advanced metrology tasks.

Scan with a single laser to maneuver into hard-to-reach areas and capture data exactly where you need it – even inside deep grooves or holes, for quality inspection and reverse engineering.

Artec Studio
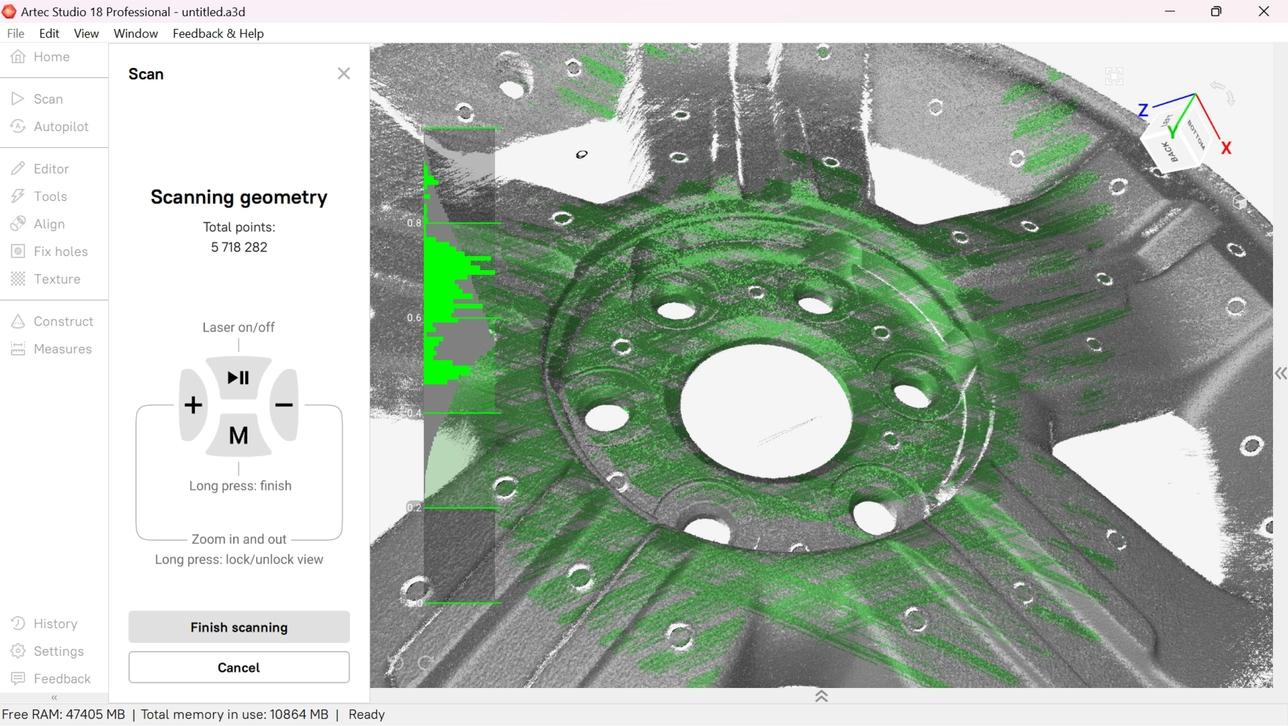
Artec Studio Image
Real-time-icon

Real-time visualization

Artec Studio’s intuitive color-coded 3D Radar gives users the feedback needed to adjust their scanning approach for optimal data capture in real time.

Fast-track-icon

Fast-track data processing

Target-based 3D scanners and Artec Studio are the perfect match – capture and processing are so quick and easy, you can often get from scan to mesh in seconds.

all-in-one-software-icon

A truly all-in-one software

Artec Studio features all your reverse engineering and inspection essentials – data can be sent to ZEISS INSPECT or Control X in just one click, for more advanced use cases.

Compare-icon

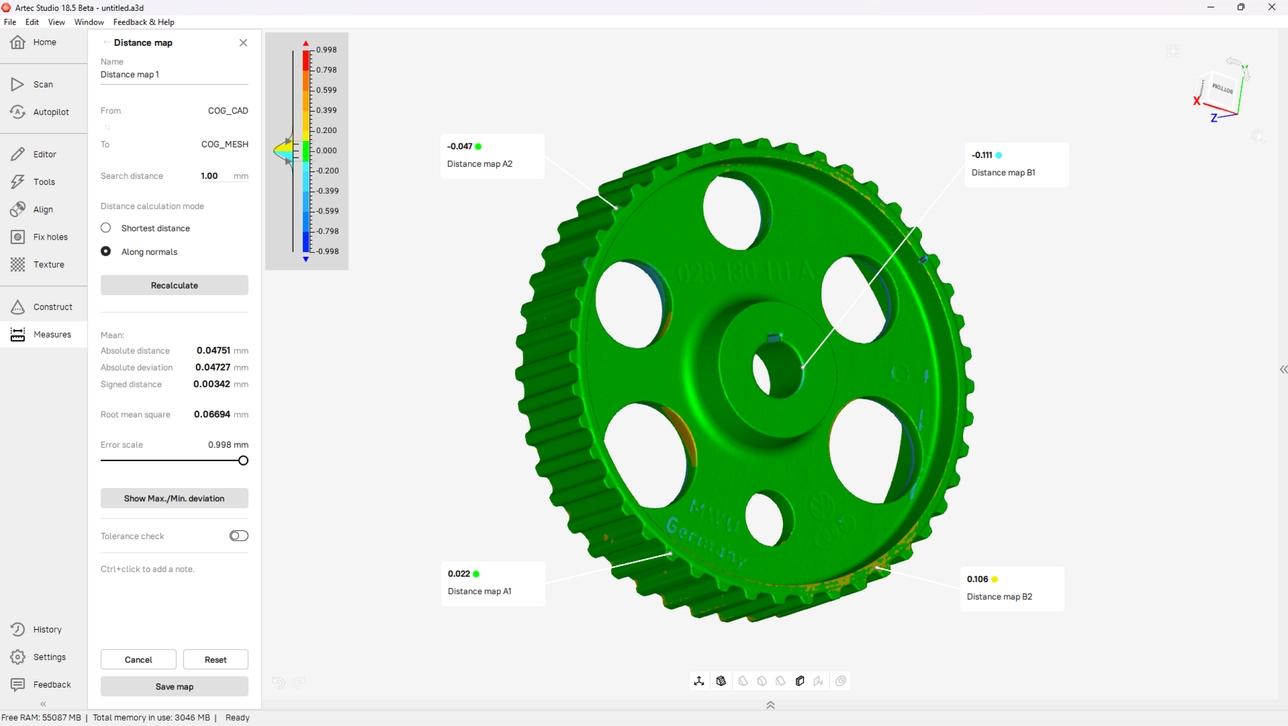
Compare scans to CAD data

Tidy meshes and create CAD bodies with auto-surfacing, then check for deviations instantly without having to leave the same tab – let alone open another software.

Inspection-icon

Inspection tools built-in

Divide scans into sections, uncover defects with Artec Studio’s 3D Compare Map, and ensure products meet standards with intuitive Tolerance Checking.

Merge-scans-icon

Merge scans to boost results

Combine scans from our first handheld target-based 3D laser scanner with data captured by other Artec 3D scanners to create large, even more detailed 3D models.

Applications

Quality control

Go through product batches with a fine-tooth comb to ensure they meet desired tolerances and quality standards before they’re installed or shipped to customers.

Reverse engineering

Accuracy is a cornerstone of effective reverse engineering – capture exact geometric representations for comparison, or turning into duplicates for iteration.

Retrofitting

Capture parts no longer in circulation, convert to CAD, and remanufacture for modern applications – making improvements as you see fit.

Creating aftermarket parts

Design new parts like custom automotive hoods that fit perfectly onto existing geometries with a submillimeter-accurate 3D scanner.

Maintenance, repair, and overhaul

Digitize damaged parts with high accuracy to find defects, uncover out-of-tolerance geometries, and carry out repairs that keep assemblies and workflows operating.

Inspection at any scale

Ensure that any small-to-medium-sized product will perform as desired. Whether in small batches or at an industrial scale, Artec Point is ideal for checking parts in fine detail.

Industries

With metrology-grade accuracy and a lightweight, versatile design, the Artec Point 3D scanner can be applied across industries, but it’s best suited to the following:

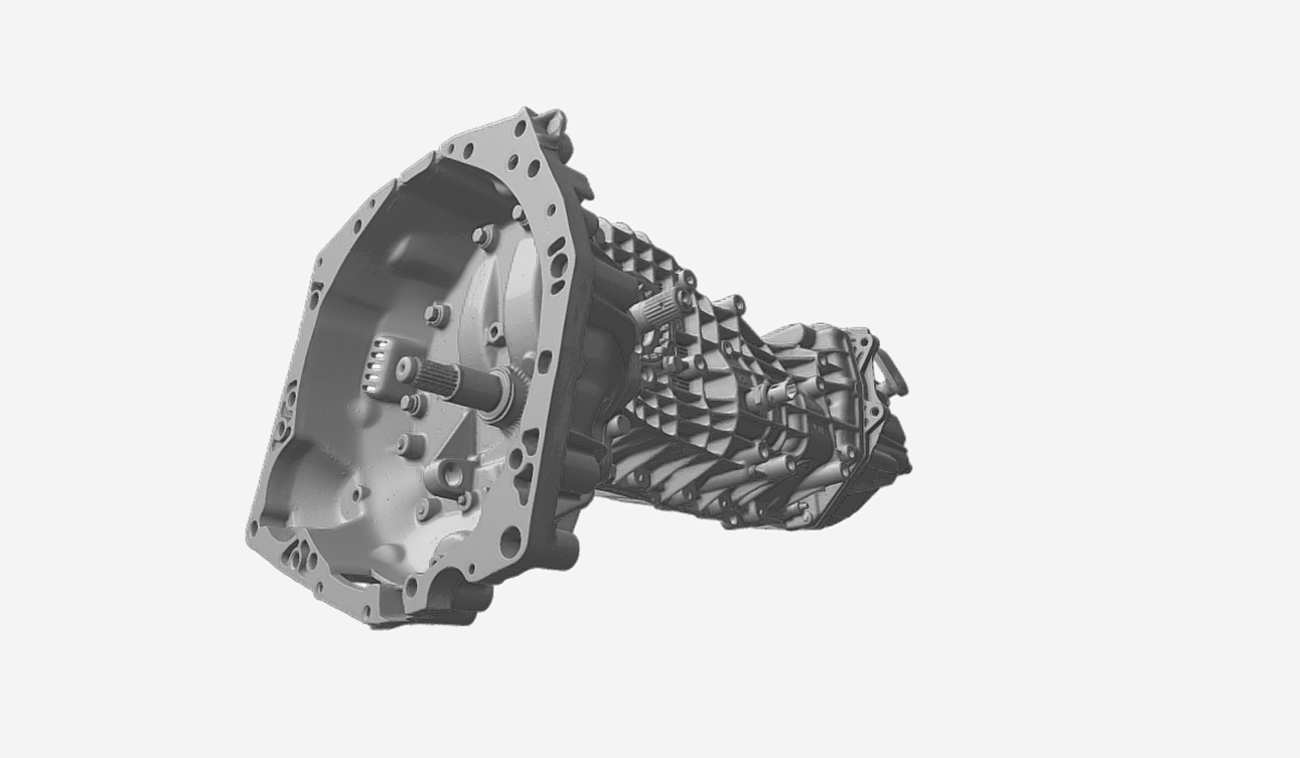
Automotive

Agile, lightweight, ultra-accurate 3D scanning is the perfect mix for capturing everything from vehicle hoods, door panels, and spoilers, to tricky-to-navigate interiors.

Aerospace

Meeting ultra-fine tolerances can be tricky at the best of times. Artec Point is fast, easy to pick up, and delivers outstanding accuracy for capturing tricky, shiny airfoil surfaces.

Manufacturing

No matter which technology you use – machining, injection molding, casting or something else entirely, the Artec Point 3D scanner is an excellent high-speed, non-contact QI solution.

Heavy industry

Even when it comes to capturing large, heavy-duty objects, Artec Point is up to the challenge. Accurately digitize anything from tiny bolts to iron castings with ease.

Mold-making

Non-compliant molds will only yield sub-par parts. Activate Artec Point’s hyper-fine scanning mode to closely evaluate their geometries before entering full production.

Energy

Whether it be piston heads or pipes in offshore networks, Artec Point is perfect for inspecting fitted parts in the energy sector to see if they need repairing or replacing.

FAQ