Introduction to 3D Scanning vs Traditional Measurement
In today’s fast-paced manufacturing landscape, uncompromising quality is vital to a company’s success. For decades, metrologists have relied on calipers, micrometers, and coordinate measuring machines (CMMs) to ensure precision on production lines and when modernizing legacy parts. However, the rise of composite materials and advanced manufacturing techniques has made these traditional tools less effective for maintaining consistent quality. The emergence of 3D scanning has transformed the metrologist’s toolkit, offering a complementary solution that works alongside conventional methods and, in some cases, can even replace them. By providing overlapping capabilities with unique benefits—such as enhanced efficiency and comprehensive data capture—3D scanning has carved out a distinct role in quality assurance. So, what is the best approach for ensuring quality today?
How do they compare when it comes to quality assurance in 2025?
1. Accuracy
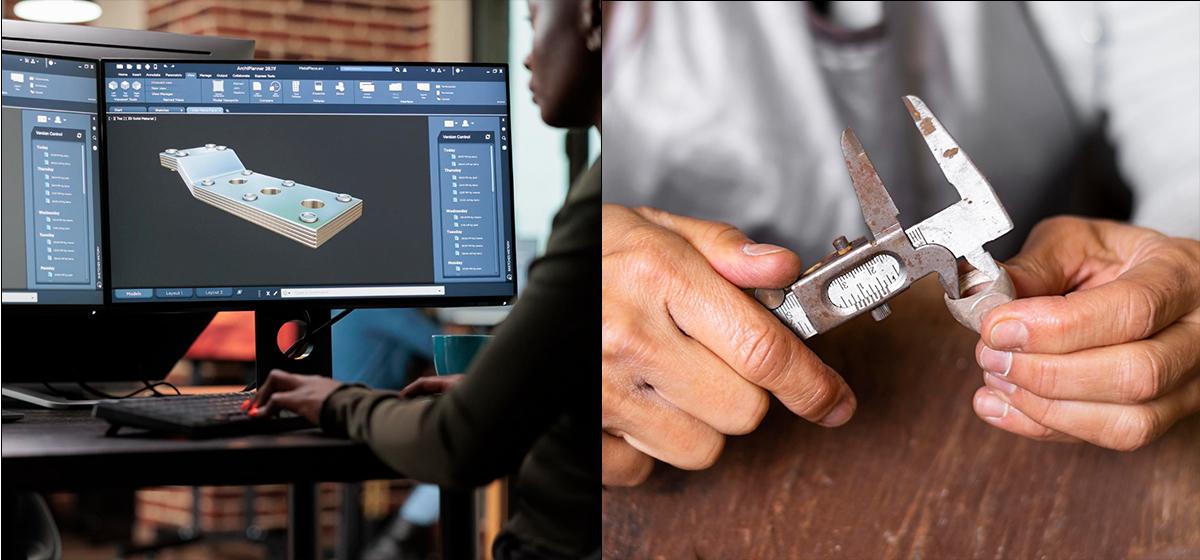
Traditional Tools: Micrometers and CMMs deliver exceptional precision, often within a few microns, making them ideal for measuring small, critical features. They remain the go-to choice for industries with stringent compliance requirements.
3D Scanning: Some modern 3D scanners achieve accuracies of ±0.01 mm, offering reliable, reproducible results for complex surfaces, though they may fall slightly short of micrometers for tiny features. Some of the most versatile scanners can only achieve accuracies closer to ±0.1 mm however.
Verdict: We call it a tie. Traditional tools are still the best for ensuring high accuracy repeatability. On the other hand, 3D scanning performs consistently with less stringent accuracy applications across a variety of geometries.

2. Speed and Efficiency
Traditional Tools: Manual measurements with calipers or micrometers are time-consuming, and even automated CMMs require setup and controlled environments, slowing the process.
3D Scanning: Scanners are capable of capturing millions of data points in seconds, making them ideal for speeding up complex inspections. While the scanner collects the data quickly, the data still needs to be processed, and the measurements extracted. This can be automated, which can reduce manhours.
Verdict: We consider 3D scanning faster and definitely more efficient. While data processing and extracting can initially be slower, once automation options are in place, 3D scanning is faster.
3. Data Coverage and Detail
Traditional Tools: These provide precise data but only for specific points measured, limiting their effectiveness for complex or freeform shapes. Have complex shapes? Good luck.
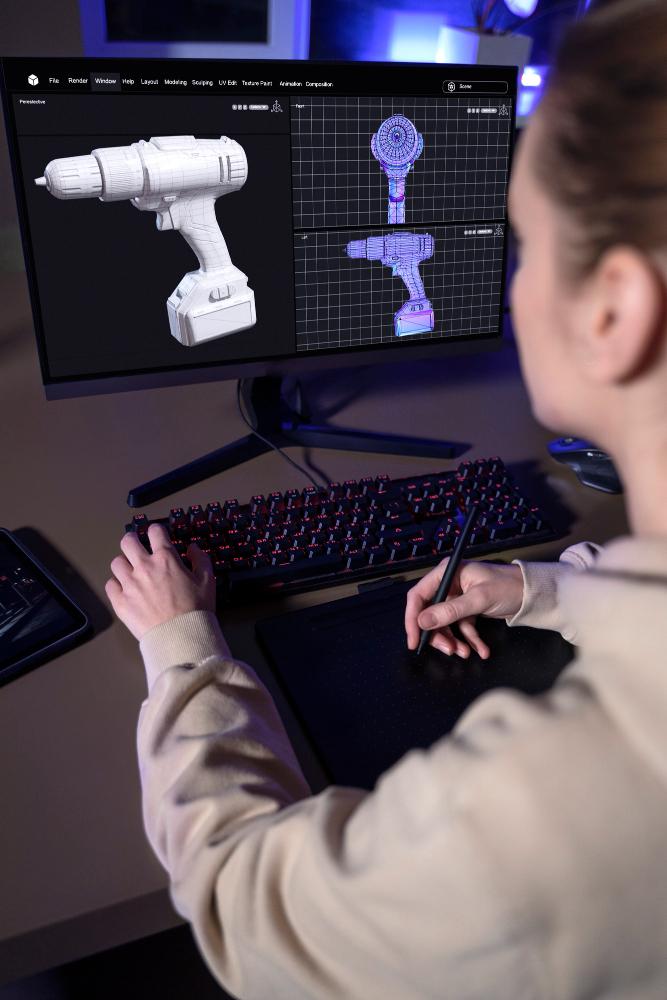
3D Scanning: Scanners generate comprehensive 3D digital models, capturing every curve, edge, and surface, enabling easy comparison with CAD models.
Verdict: 3D scanning is the clear winner for detailed, holistic data capture!
4. Ease of use and Learning Curve.
Traditional Tools: Mastering traditional tools requires significant training and experience to be used effectively. While they may be simple to pick up and use, caliper’s and micrometer’s results can vary slightly between technicians due to differences in technique.
3D Scanning: With user-friendly 3D scanners such as Artec 3D’s lineup, and automation functionality in software like Artec Studio, Geomagic Control X or PolyWorks, 3D scanners allow even novice users to produce professional, high-quality results quickly.
Verdict: 3D scanning is more accessible and easier to learn.
5. Flexibility and Range.
Traditional Tools: Best suited for small, uniform parts with prismatic design. These tools struggle with large, irregular, or freeform and organic shapes.
3D Scanning: Scanners excel across a wide range of part sizes and shapes, from small handheld components to entire building scans, adapting effortlessly to diverse applications.
Verdict: 3D scanning offers superior flexibility.
Final Thoughts: which one is the best method for you?
While traditional tools remain indispensable for specific high-precision tasks, 3D scanning complements them by excelling in speed, data coverage, ease of use, and flexibility. Its ability to handle complex geometries and deliver comprehensive data makes it a transformative addition to the metrologist’s toolkit, particularly for modern manufacturing challenges. The best approach often depends on the specific requirements of the task at hand, with both methods playing vital roles in ensuring quality in 2025.
If time, detail, and variability in your QA process were what you were after, 3D scanning wins hands down in 2025. It is faster, easier, and more flexible to accommodate the evolution of production today. 3D scanning offers a smarter, more definitive way to move forward, whether you are checking incoming parts, validating a production lot, or digitizing old parts.
Want to see how 3D scanning can help your quality assurance? Contact Digital Scan 3D today to talk about our 3D scanning services or equipment.

